notice
Using FAShare
How to Create Folders & Assign Permissions on the Department Administration File Share (FAShare)
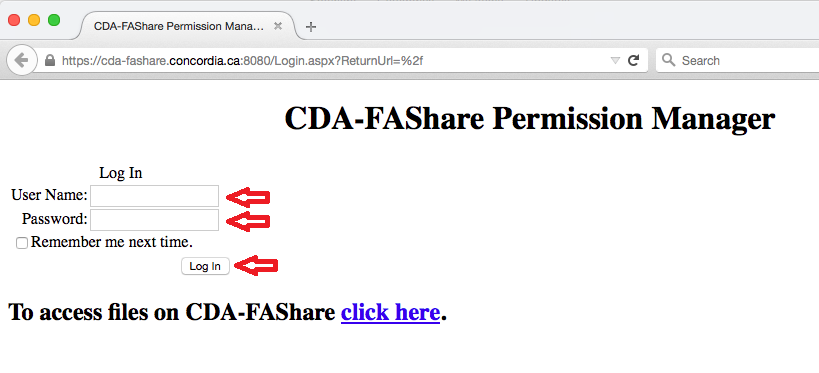
Open a browser and navigate to https://cda-fashare.concordia.ca:8080. On this page, enter your Netname and password and then click the 'Log In' button.
To create a new folder, enter its name (New_Folder) and click the 'Create' button.

Here, you'll notice that two new folders have been created: New_Folder_R & New_Folder_W. The distinction being that R signifies Read-Only whereas W signifies Write Access, meaning they'll be able to read the contents as well as make edits to existing files & drop in new ones. You'll be able to tailor each folder & assign permissions based on the type of access users will need.

In this example, let's say we want to grant three users read-only access to the folder we've just created. First, you would click on 'New_Folder_R'. To the right of the 'Add Members' section, enter each person's Netname separated by a Line Break (Enter) or commas. You may also enter their employee or student ID numbers instead or a Concordia e-mail. Once their account information has been entered, click the 'Add Users' button.

You'll now see the names in green of the users granted read-only access to 'New_Folder'. Make sure the names correspond to the right people. If you're satisfied with the list, click the 'Save Changes to the Group Memberships' button.

The procedure is the same if you'd like to grant users Write Access to certain folders. Simply click on 'New_Folder_W' and follow the same steps as above.
Please note that Write Access also incudes read access.

To delete a folder, select either New_Folder_R or New_Folder_W & click the 'Delete Folder' button.
Please make sure that the folder is empty before trying to delete it. As a precaution, you will only be able to delete empty folders.
To make changes to permissions, you must first decide on the type that needs to be modified(either read-only or write) and then select the corresponding folder (New_Folder_R or New_Folder_W). In this example, you would then check off those no longer needing access to the folder & click the 'Remove Selected' button. To make the changes final, click on 'Save Changes to the Group Memberships' button.
