notice
Getting Adobe Acrobat on macOS
Staff and faculty in Fine Arts have access to a license for Adobe Acrobat Pro DC. The CDA has made this available through our software management system for Macs, Managed Software Centre.
Who this is for
Fine Arts full time and part time employees who have been allocated a Concordia desktop or laptop computer. This means that the computer must be owned by Concordia.
Please note, if the following applies to you:
- You manage your own computer, and it was not set up by CDA
- You have an administrator account with which you install your own software
- There is no Managed Software Centre application on your computer
..you may download and install the software yourself, directly from the portal. See this article on the service catalog for more details.
If you have shared workstations or Microsoft Windows
Please open a ticket so that we can assist you, if either of the following applies to you:
- You manage shared workstations (labs, studios or editing stations, etc.).
- Your computer is a Windows PC
Minimum system requirements
The minimum system requirements for the current Adobe Acrobat Pro DC on macOS is Mojave (10.14). If you need to upgrade your system to Mojave, you may do this through Managed Software Centre on Concordia owned devices.
Overview
There are two steps:
- Download Adobe Acrobat Pro and install the software.
- Sign in to activate the software on your Mac
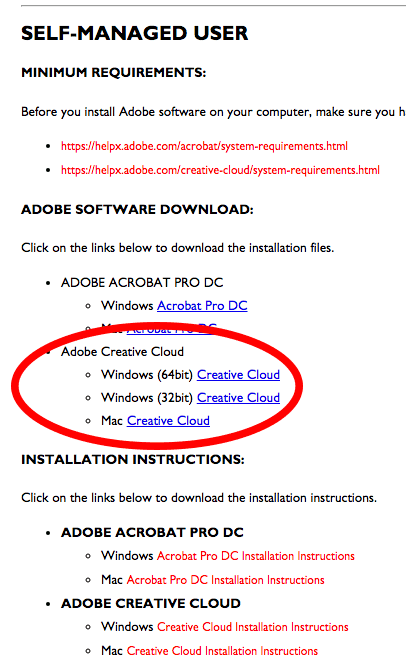
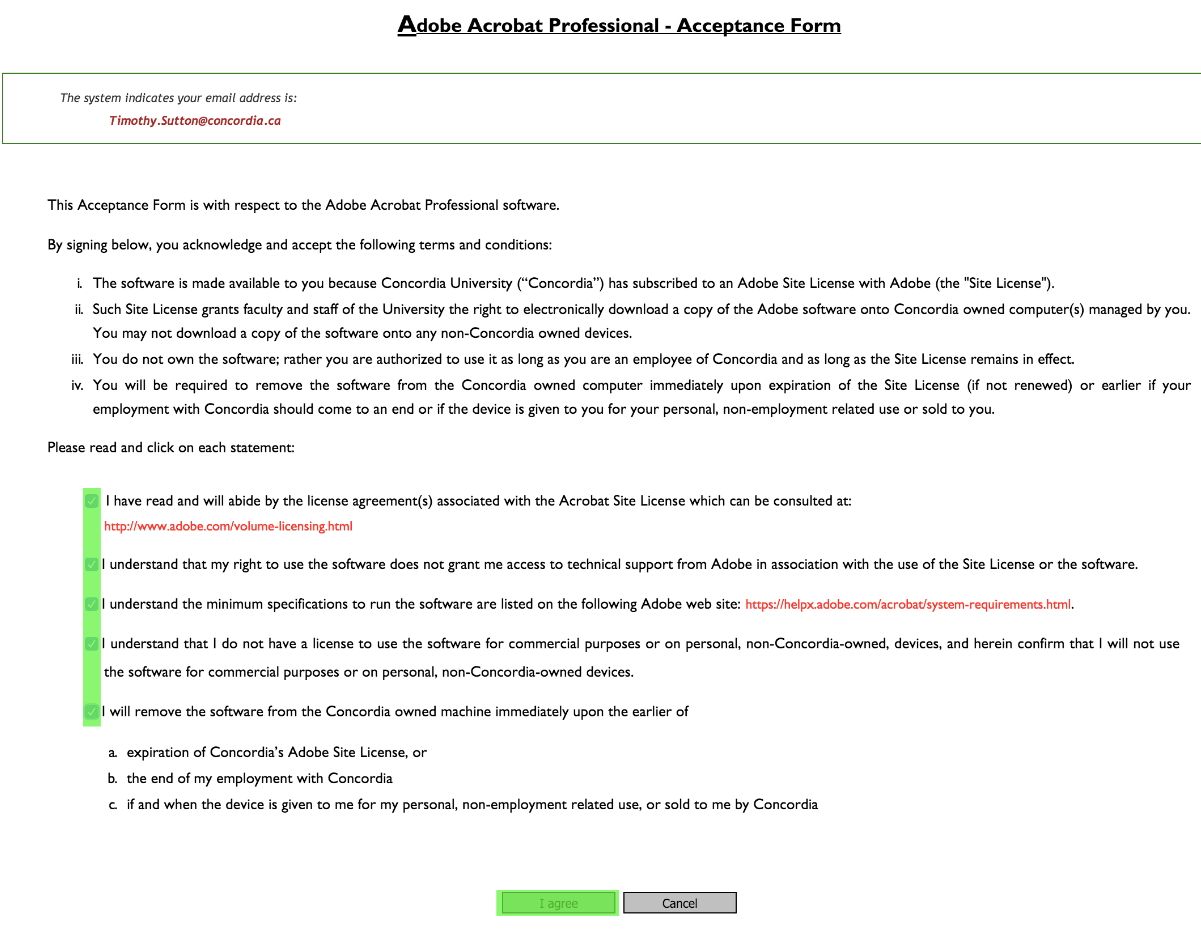
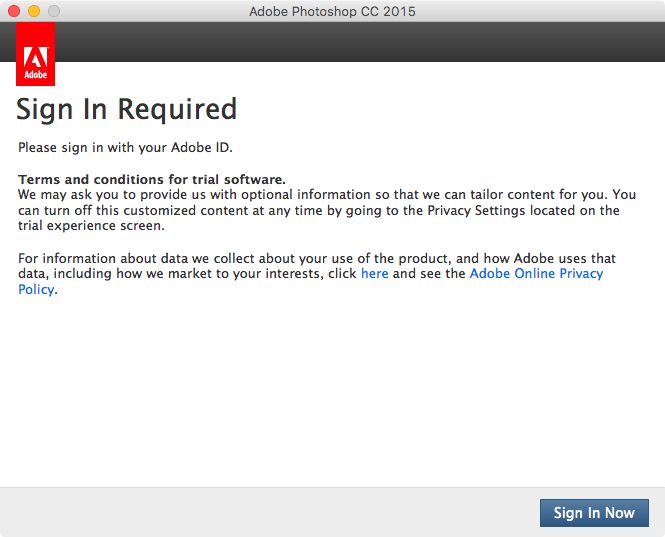
If this is the first time you're downloading the software, you'll see an acceptance form that looks similar to the following screenshot. Please read it carefully. If you accept the terms by clicking "I Agree" at the bottom, your user license for Adobe Acrobat Pro DC will be created and you should also see the Adobe Creative Cloud links.
If you only wish to use Adobe Acrobat Pro, you may skip to the next step and install your software. If you wish to use any other Adobe Creative Cloud apps, please continue to get your user license for Adobe Creative Cloud.
Install Adobe software
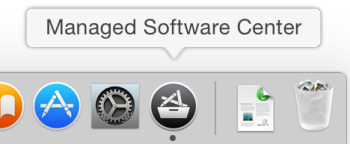
Launch Managed Software Centre. You'll find it in your Applications folder, and it may also be already in your Dock. You may also click this link to launch it.
If you do not have Managed Software Centre on your Mac, please open a ticket so that we can get it set up for you.
Software currently available (all are CC 2015 versions):
- Acrobat Pro DC
- After Effects
- Audition
- Bridge
- Dreamweaver
- Illustrator
- InDesign
- Lightroom
- Media Encoder
- Photoshop
- Premiere Pro
- SpeedGrade
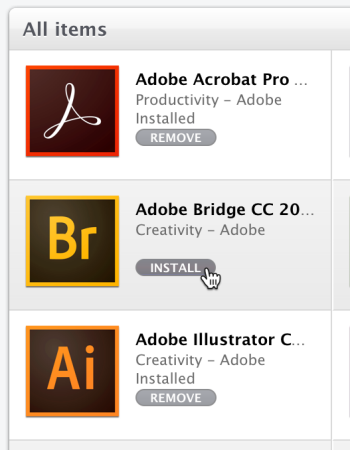
You can browse the Software listing to find the applications, use the Search bar in the upper right, or browse the Categories drop-down menu on the right.

Click on the item name or icon for more details, or click the "Install" button to begin the download and installation process:
You can repeat this process to install multiple applications at the same time, or add more at a later time.
Enter staff.concordia.ca in the E-mail address field, and move to the password field.
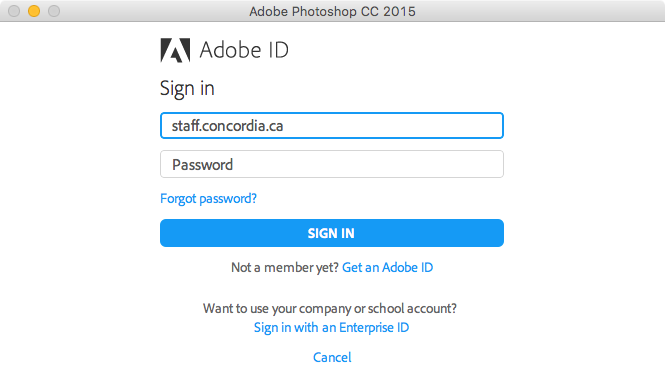
The window should immediately redirect to a new login window managed by Concordia. Enter your netname and password and click Sign In.

You should see a confirmation that the login was successful:
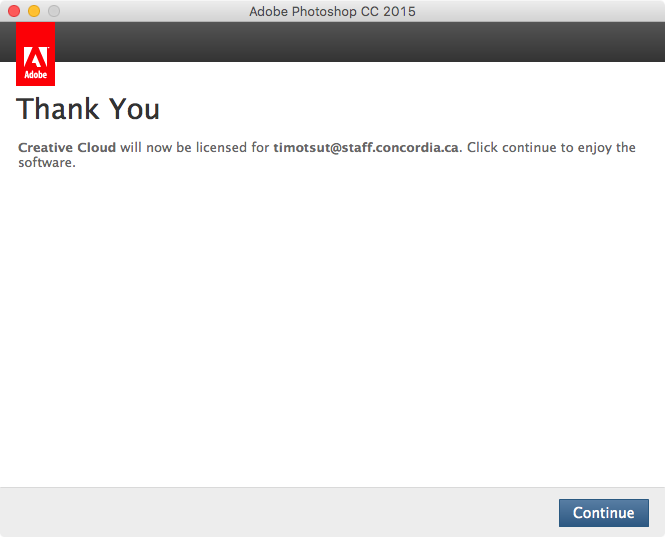
Your computer should have now activated the Adobe software with your netname, you're done with the process and able to use the software.
If you are having trouble with signing in and have double-checked your password, please open a ticket so that we can assist you and verify whether your user license was properly created.
Creative Cloud Desktop App
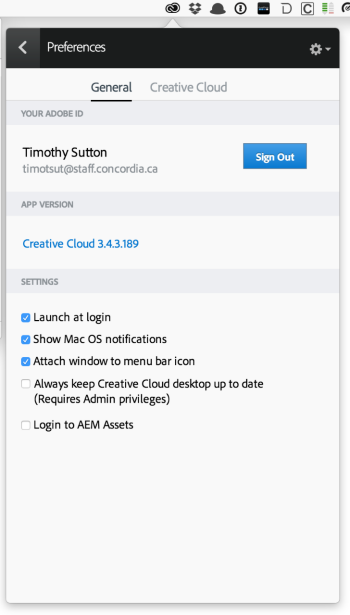
In the future, you may check the status of your computer's sign in at any time by opening the Creative Cloud application, which can be found in your Applications folder, or in the menu bar. By default, the menu bar item will appear whenever you log in to your Mac, but this can be disabled in the preferences.
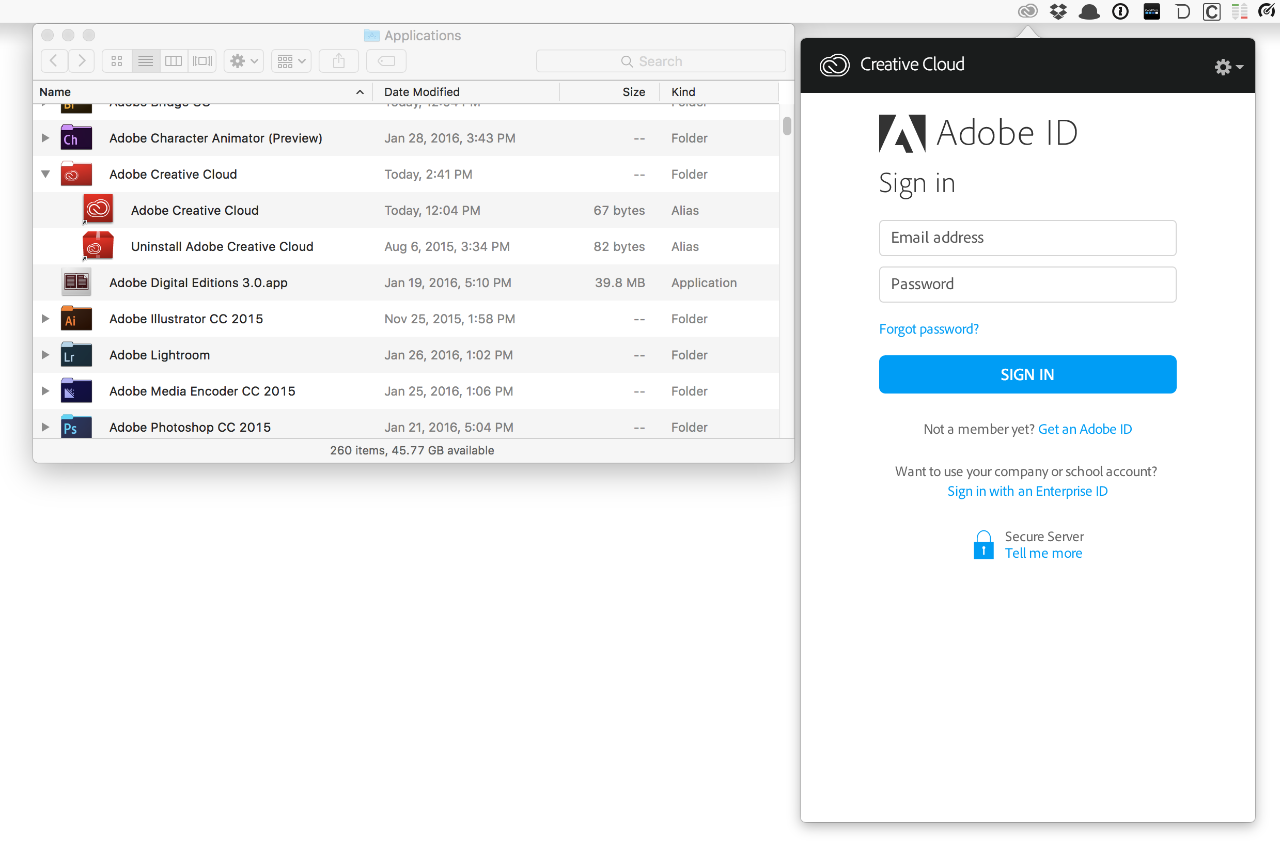
Click the gear icon in the upper right and select "Preferences" to open the preferences window and display the user that is signed in. You may also choose to disable this utility from opening on every login, as it's not required in order to continue using the CC applications.
You may also remove any of these applications later via Managed Software Centre by finding them in the My Items view and clicking "Remove."
What could go wrong?
Some users will report that they do not see the Adobe CC links once they click the agreement form. If all goes well you should see the links circled in red as shown in the image below. If you do not see the links, please let us know by emailing help@concordia.ca